
Tae Kwon Do Partner Drills: Agree Contact and Stop Cues
On this page
Quick answer
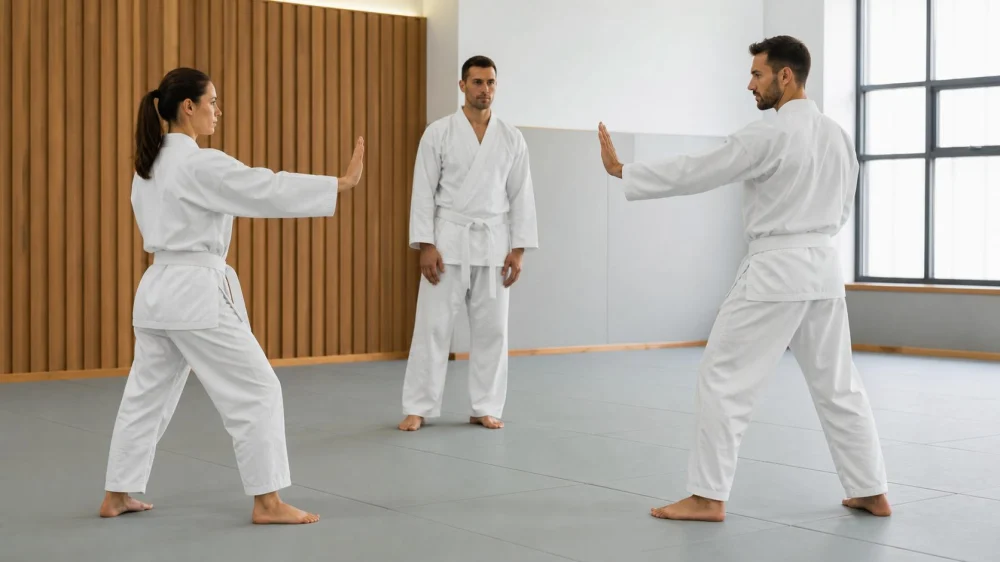
Before a Tae Kwon Do partner drill, both students should understand the exact skill, attacker and defender roles, target area, speed, contact level, protective equipment, number of repetitions, stop cue, and reset process. Begin slowly under the instructor's rules, increase only when control is consistent, and stop immediately for pain, confusion, unsafe distance, equipment movement, or loss of balance.
Budo Martial Arts Studio / budo martial arts studio
Ewing TownshipMercer CountyNew Jersey
9 Scotch Rd, Ewing Township, NJ 08628, USA
Why partner drills need explicit agreement
Partner drills use another person's movement and feedback to practise timing, distance, defence, accuracy, or controlled contact. A shared name for the drill does not guarantee identical expectations. Experience, size, mobility, injury history, equipment, school style, tournament rules, and instructor purpose can change how the same drill should be performed.
This guide is for students in United States Tae Kwon Do classes following a qualified instructor. It is not a substitute for supervision, school rules, medical advice, or competition regulations. Children, beginners, contact sparring, rehabilitation, disability, pregnancy, and return after illness or injury require individualized decisions.
Champions Martial Arts Plainview / champions martial arts plainview
PlainviewNassau CountyNew York
10 Washington Ave, Plainview, NY 11803, USA
Confirm these details before starting
- The purpose of the drill: footwork, timing, accuracy, defence, distance, reaction, combination flow, pad work, or another defined skill.
- Who attacks and defends first, starting stance, allowed techniques, target areas, prohibited contact, and where each repetition ends.
- Speed, power, contact level, distance, and whether the target is touched, stopped short, blocked, or received on approved equipment.
- Required uniform and protective gear, correct fit, secure straps, empty pockets, trimmed nails, tied hair, and removal of jewellery.
- Mat condition, boundaries, other pairs, walls, bags, mirrors, spectators, and a clear path for retreat or loss of balance.
- One clear stop word or signal, a slower cue, a reset cue, and agreement that either partner can use them without explanation.
- Number of repetitions, role switch, rest interval, instructor feedback point, and symptoms or equipment issues that end the drill.
Run a controlled partner drill
- Watch the instructor demonstrate and ask what success looks like, including the intended contact and common unsafe errors.
- Face the partner and repeat the roles, target, speed, contact, stop cue, and reset so misunderstandings are corrected before movement.
- Inspect gear and space, then rehearse the path without contact at a speed that allows both partners to stop on command.
- Begin with predictable single repetitions. The receiver should not add counters, movement, or resistance outside the agreed drill.
- Increase speed or complexity only when the instructor permits it and both partners maintain balance, distance, accuracy, and control.
- Use the stop cue immediately for pain, fear, confusion, equipment shift, unsafe proximity, unexpected technique, or loss of control.
- Reset completely, discuss one useful cue, and involve the instructor before resuming or changing the contact level.
A training log can note the drill goal, instructor cue, partner role, contact level, equipment, successful repetitions, confusion, symptoms, and one next step. Do not use the record to rank partners by toughness or pressure someone to repeat contact they declined.
Safety and coaching boundaries
Consent to one drill, speed, or contact level does not carry into another round. A size or rank difference does not remove the senior student's duty of control or the junior student's right to stop. Do not improvise joint attacks, head contact, sweeps, throws, blind reactions, or competition intensity when the instructor has not included them.
Stop training and notify the instructor for head impact, neck pain, severe joint pain, loss of balance, visual changes, confusion, breathing difficulty, chest pain, faintness, bleeding, suspected fracture, or equipment failure. Seek emergency or medical care according to symptoms and the school's emergency plan; do not return to contact based only on feeling better briefly.
Frequently asked questions
Is light contact the same for everyone?
No. Define what the technique should do and where it should stop rather than relying only on the word light.
Can a lower-rank student tell a senior partner to stop?
Yes. Either partner should use the stop cue immediately, and the instructor should support clear safety communication.
Should partners match by size?
Size is one factor, along with experience, control, mobility, drill purpose, and equipment. The instructor should make or approve pairings.
What if a partner keeps increasing power?
Stop the drill, create space, and involve the instructor. Do not answer with harder contact or continue under pressure.
When can speed increase?
Only when the instructor permits it and both partners demonstrate consistent control, distance, balance, and stop response.
Sources and evidence
Use the school's current curriculum and safety rules, the instructor's demonstration, protective-equipment instructions, applicable competition rules when relevant, and individualized healthcare guidance for restrictions or return to contact. General martial arts practice supports progressive, controlled, consent-based partner work.
Conclusion and next steps
Name the drill goal, roles, target, speed, contact, equipment, stop cue, and reset before moving. Rehearse slowly and progress only under instructor guidance when both partners remain controlled. Stop without hesitation when expectations, distance, balance, symptoms, or equipment changes, then ask the instructor to reset the plan.

 Aikido of San Jose4.0 (7 reviews)
 Nikko Jujitsu School4.0 (9 reviews)
 Gracie Barra San Clemente Martial Arts4.0 (47 reviews)
 Karate Institute of America4.0 (4 reviews)
 Keweenaw Korean Martial Arts0.0 (0 reviews)
 Wing Chun School of Internal Arts5.0 (6 reviews)
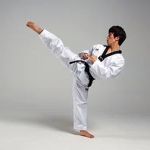 How to Execute a Jumping Roundhouse Kick to the Head
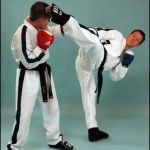 How to Execute a Double Kick Combination in Sparring
 How to Perform a Flawless Axe Kick: A Step-by-Step Guide
 DIY Tae Kwon Do Training Equipment for Home Practice
 How to Increase Your Vertical Jump for Tae Kwon Do Flying Kicks
 The History of the Tae Kwon Do Peace Corps