
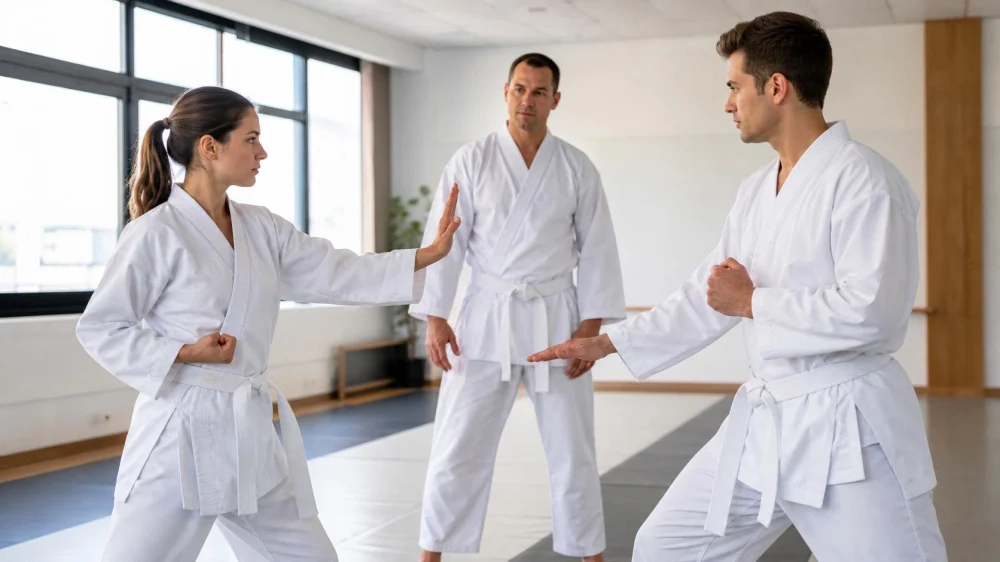
Tae Kwon Do Partner Drill: Agree on Speed and Contact First
On this page
Quick answer
Before a Tae Kwon Do partner drill, confirm the instructor's exact task, target area, contact level, speed, number of repetitions, attacking order, protective gear, and stop cue. Start below full pace, test distance with control, and increase only when both partners and the instructor agree. Stop immediately for confusion, equipment movement, pain, loss of control, or a partner's request.
Budo Martial Arts Studio / budo martial arts studio
Ewing TownshipMercer CountyNew Jersey
9 Scotch Rd, Ewing Township, NJ 08628, USA
Follow the assigned drill
A partner drill is not permission to improvise a harder exchange. Listen for the objective: distance, timing, target recognition, defence, footwork, pad work, or controlled sparring. Ask whether the movement finishes short of the target, touches equipment, or uses a defined level of contact.
Different schools, ranks, ages, and sessions may use different terminology and expectations. Demonstrate the assignment back to the instructor if any part is unclear. Do not add sweeps, takedowns, counters, spinning techniques, head contact, speed, or resistance that was not assigned.
Partner selection should reflect the instructor's judgment, the drill, experience, control, size, mobility, equipment, and comfort. Either participant may ask for another match or an adjustment without embarrassment.
Champions Martial Arts Plainview / champions martial arts plainview
PlainviewNassau CountyNew York
10 Washington Ave, Plainview, NY 11803, USA
Use a partner briefing
Face your partner before taking position. State which person attacks first, the target, planned pace, contact level, repetitions, and reset point. Agree on simple words or an open-hand cue for “slower,” “reset,” and “stop.” Confirm hearing, language, glasses, braces, prior limitations, and any area the partner does not want contacted.
Check required protective gear, jewellery, nails, uniform ties, hair, and mat space under the school's rules. A belt colour does not guarantee familiarity with a specific drill. Ask rather than assume.
For minors, instructors and organisations should follow applicable safeguarding policies, supervision rules, and the relevant sport governing body's requirements. Training partners should not negotiate around those protections.
Test distance and timing
Begin with a static or slow rehearsal as instructed. Establish stance, reach, target height, reaction, and safe stopping distance. Adjust for differences in leg length, mobility, balance, and protective equipment rather than forcing both partners into identical range.
Increase one variable at a time: speed, movement, combinations, or resistance. Keeping the other variables stable makes loss of control easier to detect. Do not chase a partner who has moved out of the drill area or continue through another pair's space.
Adjust during practice
Maintain attention and eye contact appropriate to the exercise. Reset when timing breaks down, a kick lands harder than agreed, gear shifts, or either person loses balance. A quick apology should be followed by a practical adjustment in distance, speed, target, or pairing.
Do not use fatigue as a reason to ignore technique. As control decreases, slow down, shorten the set, change the exercise, or ask the instructor to intervene. After the drill, share one clear observation without coaching beyond your role.
Drill checklist
- Instructor's objective and sequence understood.
- Attacker, defender, repetitions, and reset assigned.
- Target, speed, and contact level agreed.
- Stop and slow-down cues rehearsed.
- Gear, uniform, nails, and mat checked.
- Slow distance test completed.
- Only one variable increased at a time.
- Pain, confusion, or loss of control stops the drill.
Limitations and warning signs
This article is general training-safety information, not instruction in a specific Tae Kwon Do technique or medical advice. Follow the qualified instructor, school rules, equipment instructions, and applicable safeguarding policy. Stop for pain, suspected concussion, breathing trouble, fainting, severe dizziness, confusion, weakness, or significant injury and seek appropriate medical help.
FAQ
Is light contact the same at every school?
No. Ask the instructor to demonstrate the expected target, pace, and contact for that session.
Can I ask a higher rank to slow down?
Yes. Any partner can request a reset, lower pace, or instructor help.
What if my partner changes the drill?
Stop and return to the assigned task. Ask the instructor before adding a technique or contact level.
Should partners match by size?
Size is one factor. The instructor should also consider control, experience, mobility, equipment, and the specific objective.
Evidence notes
This guide uses common coached-practice controls: defined task, explicit contact level, simple stop cues, slow rehearsal, one-variable progression, and instructor oversight. For programs involving minors, the U.S. Center for SafeSport's MAAPP resources explain that sport-related contact and supervision require specific safeguarding attention.
Next steps
Before the next partner round, use a ten-second briefing: “You attack first, this target, this pace, this contact, five each, open hand means stop.” Rehearse once slowly and ask the instructor to resolve any uncertainty before increasing speed.
 Aikido of San Jose4.0 (7 reviews)
 Nikko Jujitsu School4.0 (9 reviews)
 Gracie Barra San Clemente Martial Arts4.0 (47 reviews)
 Karate Institute of America4.0 (4 reviews)
 Keweenaw Korean Martial Arts0.0 (0 reviews)
 Wing Chun School of Internal Arts5.0 (6 reviews)
 How to Execute a Jumping Roundhouse Kick to the Head
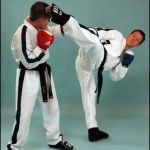 How to Execute a Double Kick Combination in Sparring
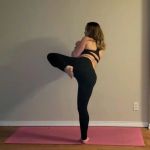 How to Perform a Flawless Axe Kick: A Step-by-Step Guide
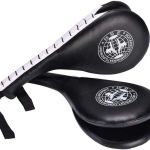 DIY Tae Kwon Do Training Equipment for Home Practice
 How to Increase Your Vertical Jump for Tae Kwon Do Flying Kicks
 The History of the Tae Kwon Do Peace Corps